
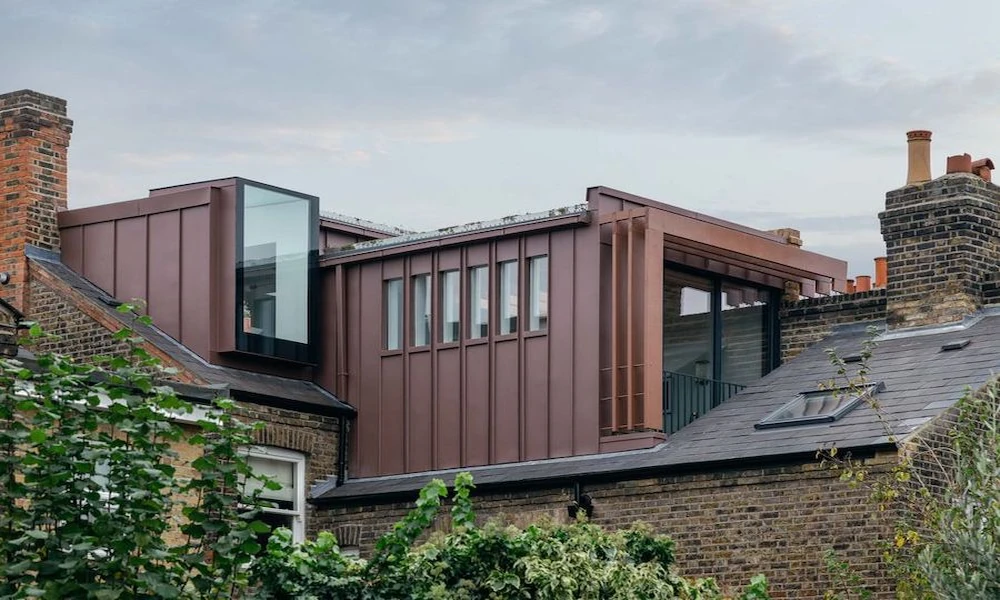
Design work starts with a roof survey. Pitch, ridge height and joist depth come off that survey, and they settle whether the house suits a flat roof dormer or a hip-to-gable conversion. Sections drawn afterwards have to show two metres of standing room over the stair before the drawing pack can go anywhere near a council. Loft measurement happens before any drawing. A Floorplan Expert climbs up first and draws later, for a plain reason. Pitch and ridge height put a hard cap on what any loft can turn into, and neither number can be guessed from the street. One visit with a tape settles both. Layouts follow the survey. Sections follow the layouts. The pack that eventually lands on a council desk is nothing more than those site measurements, worked through on paper.
Initial roof assessment
Up in the loft, the surveyor wants maybe an hour. Nothing exotic goes up there: a tape, a laser level, a notepad, a decent torch. Pitch angle gets recorded before anything else. Under 30 degrees, the loft usually wants a flat roof dormer. On a hipped roof, the better answer is often a hip-to-gable conversion, worth roughly a third more floor than a dormer by itself. Joists come next. Ceiling joists in an older semi were put in to hold plaster and a few boxes of Christmas decorations, nowhere near a furnished bedroom, so their depths get written down for the engineer to deal with later. Stair position gets walked through on the same visit, since the landing ends up deciding the corridor and the corridor ends up deciding everything else. Chimney breasts, a redundant water tank, a purlin somebody doubled up decades ago. On the base drawing it all goes.
Drafting dormer layouts
With the base drawing done, rooms get tried against it. Two options are normal, three if the brief is loose. One draft might give the whole rear dormer to a single big bedroom. Another carves the same space into a small double with a shower room beside it. Low eaves around 1.4 metres still earn their keep as desk space. Full height is what a wardrobe demands, so storage finds its spot before any wall line gets inked.
What gets settled at this stage:
- Rear slope or side slope for the dormer face.
- Wall lines for the bedroom, bathroom or study.
- Window sizes matched to the age and front of the house.
- Corridor width checked against a double mattress.
Owners keep the drafts for a week or so, then pick one. Small revisions follow.
Natural light planning
Headroom gets drawn before daylight because regulations set hard numbers for it. A two metres clearance over the stairs, and the same on the main floor. We cut straight through the proposed dormer to show full standing height and where the sloping ceiling reduces it. A stair that misses the height requirement sends the layout back a stage, which costs far less on paper than after plasterboard goes up.
Daylight planning uses the same section drawings. A south-facing rear dormer may have large glazing and be able to accommodate summer shading, however. Walls facing north have the benefit of being able to accommodate bigger windows without overheating. The remaining slope of the dormer cheek can be lit by a rooflight on the remaining slope where the dormer cheek is too narrow for a window.
Final drawings preparation
Final packs carry plans at 1 to 50, elevations, the sections, wall build-ups, insulation thicknesses, steel positions and the soil pipe route. A 3D street view is also available, mainly to see the finished front. A terraced house must have 40 cubic metres of permitted development, a detached one must have 50. Builders quote from complete packs with fewer provisional sums at the council.
Taking measurements, laying out, cutting sections, and packing. Having designed a dormer through these four projects, it arrives on site with its headroom already proven and its drawings already answering questions a builder might ask mid-construction.
